Back to TheWorxHub for Senior Living Main Menu
Mapping Locations
Once you have uploaded a drawing into TheWorxHub, the drawing can be mapped to the Location that it was associated with.
To access Location Mapping:
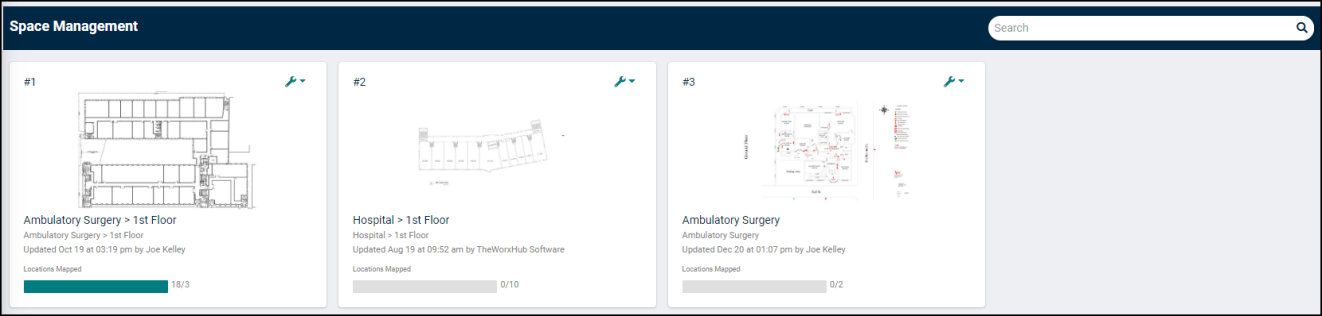
- Click on the Space Management tab. *Note: This will take you outside of the normal interface and into the Space Management module.
How to Map Locations
- Click on the Drawing you would like to map. Use the search field to filter the list of drawings if necessary.
- Use the yellow arrow and zoom icons or click and drag to move the drawing as needed.
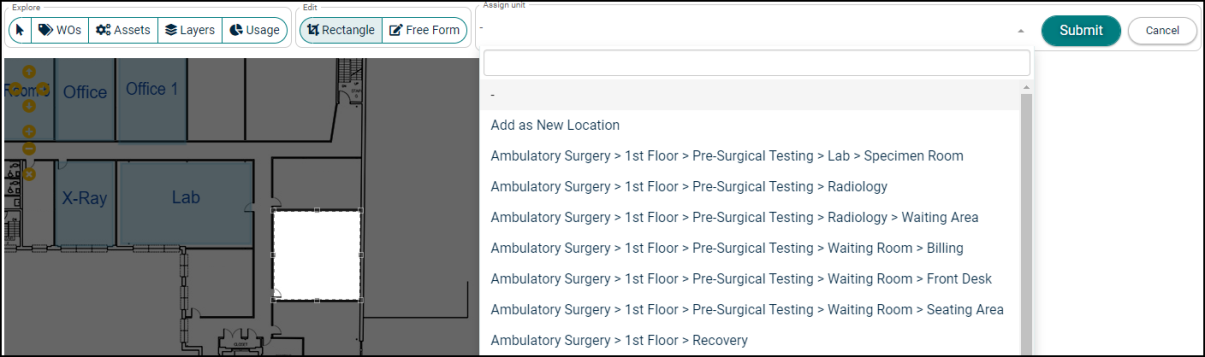
- There are two Edit tools that you can use to map your locations on a drawing:
- Rectangle: Select this tool to click and drag a rectangular selection on the drawing.
- Free Form: Select this tool to define a selection on the drawing point by point. This is most useful for oddly shaped rooms or spaces.
- Once you have made a Rectangle or Free Form selection on the drawing, select the mapped location from the drop down menu.
- Click Submit to save the change.
- Repeat this process for any additional locations you would like to map on this drawing. *Note: If the drawing will not allow you to proceed with mapping, this may mean that all locations have been mapped.
How to Edit Location Mapping
- Click on the drawing you would like to edit. Use the search field to filter the list of drawings if necessary.
- Click on the mapped location you would like to edit. This will expand a side panel with information about the location.
- Click on the hamburger menu (
 ) at the top of the panel. You will be presented with three options:
- Edit Location: Click this option to make updates to this location's information.
- Change Unit: Click this option to select a new Location to map to this selection on the drawing.
- Remove Mapping: Click this option to completely remove this mapping selection from the drawing.
